Our wall stickers are printed on high-quality vinyl imported from Germany, designed to look beautiful and come off cleanly when you’re ready for a change.
Before you start
- Best applied to smooth, hard, flat, non-porous surfaces — walls, glass, mirrors, plastic, or sealed wood
- Room and wall temperature should be between 18–24°C for best results
- Freshly painted walls need 30 days to cure before applying stickers, or they may lift
- Use a water-based paint where possible — some paint types aren’t sticker-friendly
- Clean the surface with mild dishwashing liquid and warm water, rinse, and make sure it’s completely dry
- Avoid applying in direct sunlight or humid rooms, as stickers may lift
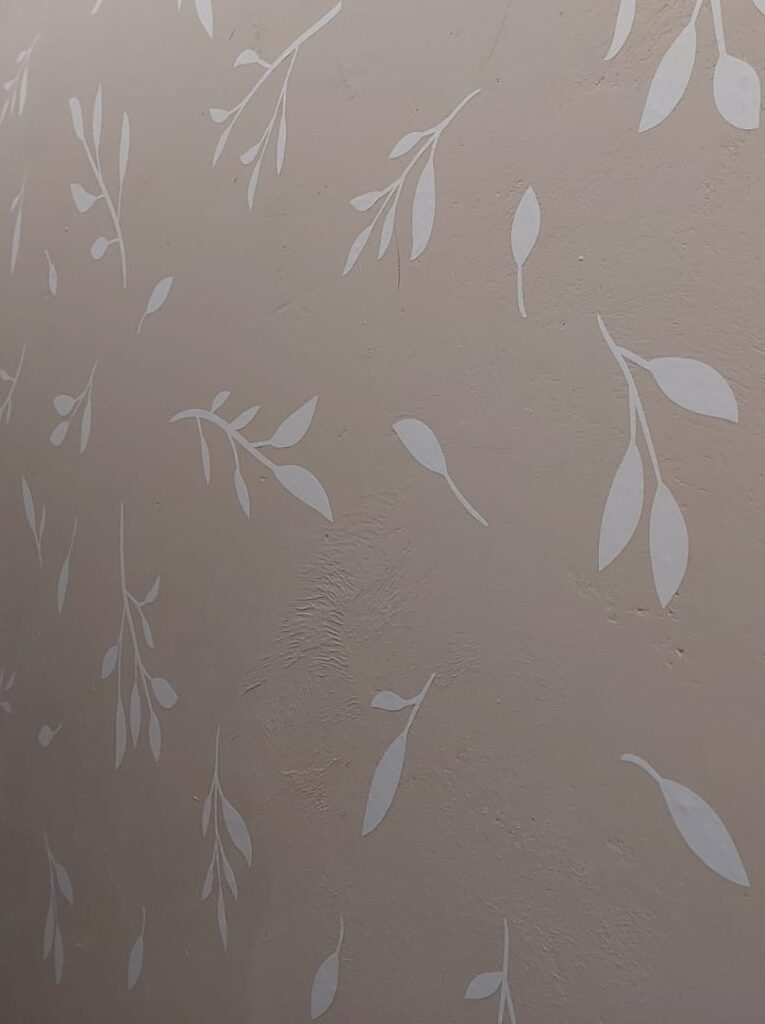
Not sure if your wall will work? Heavily textured walls aren’t suitable for our stickers. Send us a photo of your wall and we’ll let you know before you order.
We offer two types of wall stickers
1. Peel & Stick — simple stickers you peel from the backing and apply directly to the wall.
2. Application Film — used for text and intricate designs, where a film holds everything in place while you apply it.
Applying Peel & Stick stickers
If you get air bubbles, smooth them out toward the nearest edge. For stubborn bubbles, prick gently with a pin and press the air out.
Measure your space — larger designs are made up of multiple pieces, so make sure you have enough room for the full picture. An extra pair of hands helps with bigger designs.
Cut out each piece with its backing before removing the backing as you apply it — try not to touch the adhesive.
Smooth each sticker down with a soft plastic tool (a plastic lid wrapped in a soft cloth works well).

Applying ‘Application film’ stickers
You’ll need: tape measure or ruler, spirit level, pencil and eraser, sticky tape
- Lay your sticker flat and measure/mark where it will go on the wall. You may need to cut out individual words to lay them out properly.
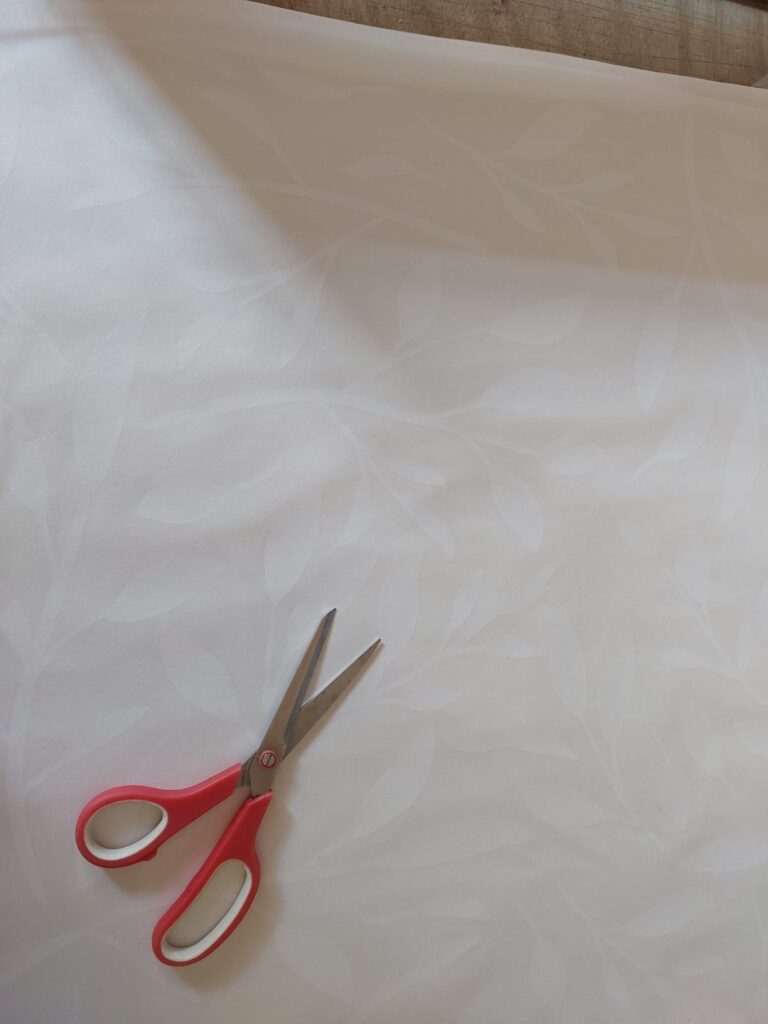
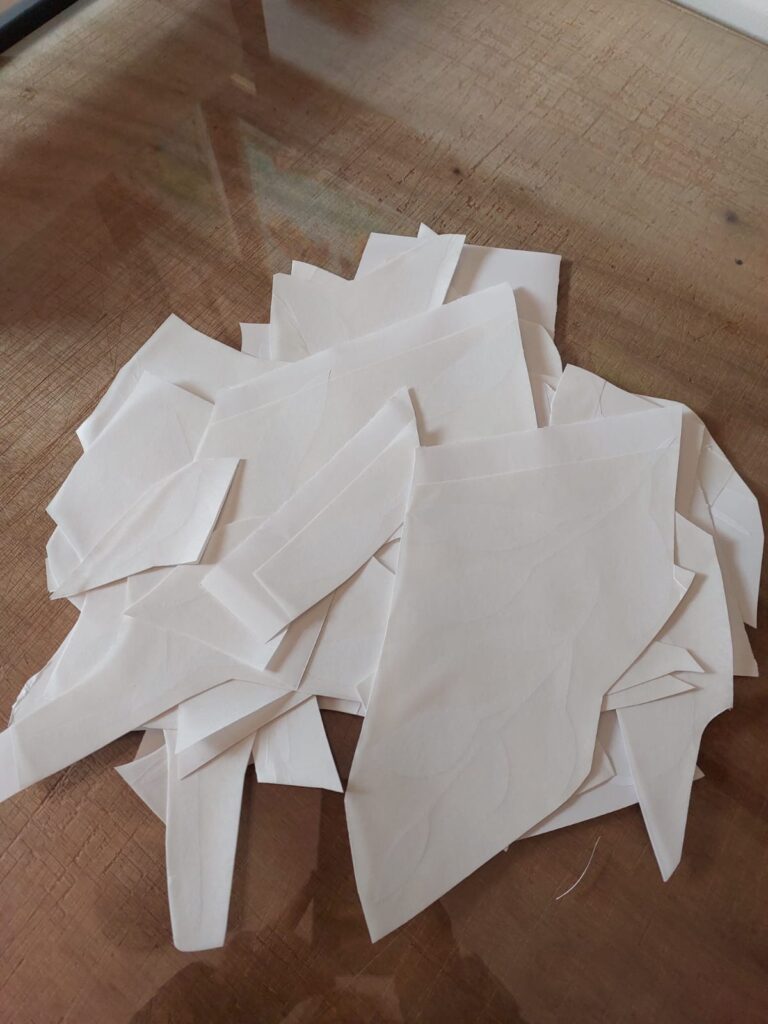
- Cut out the sticker, backing, and application film together.
- Slowly peel the backing off the vinyl, checking that the sticker stays adhered to the application film.
- Tape the top corners of the film in place, then rub the vinyl onto the wall using your soft plastic tool.
- Once firmly in place, slowly peel back the application film — smoothing with your hand as you go. If any part lifts, press it back down and try peeling again.
- Discard the film — you’re left with just your design on the wall. Give it one final smooth with your hand.
Top tip: Pull the application film off at a diagonal angle — it works best.
A few more things to know
- We print on white or transparent vinyl depending on your design
- For textured walls, gently rubbing the sticker with a tennis ball can help press it into small dips and bumps
- Our vinyl is designed to remove cleanly without damaging paint — which means it’s slightly less sticky than other vinyls. If edges lift on some paint finishes, a little craft glue (even Pritt or wallpaper glue) on the edges will fix it right up. Don’t panic!
A quick note: we want every customer to be thrilled with their Kidz ‘n Clan stickers, but we can’t guarantee adhesion to every surface — paint type, wall age, room temperature, and surface cleanliness are all factors outside our control.
Removing your sticker
Gently lift from an edge and peel slowly. For stubborn glue, a hairdryer on low heat helps loosen it.
Sit back and enjoy!
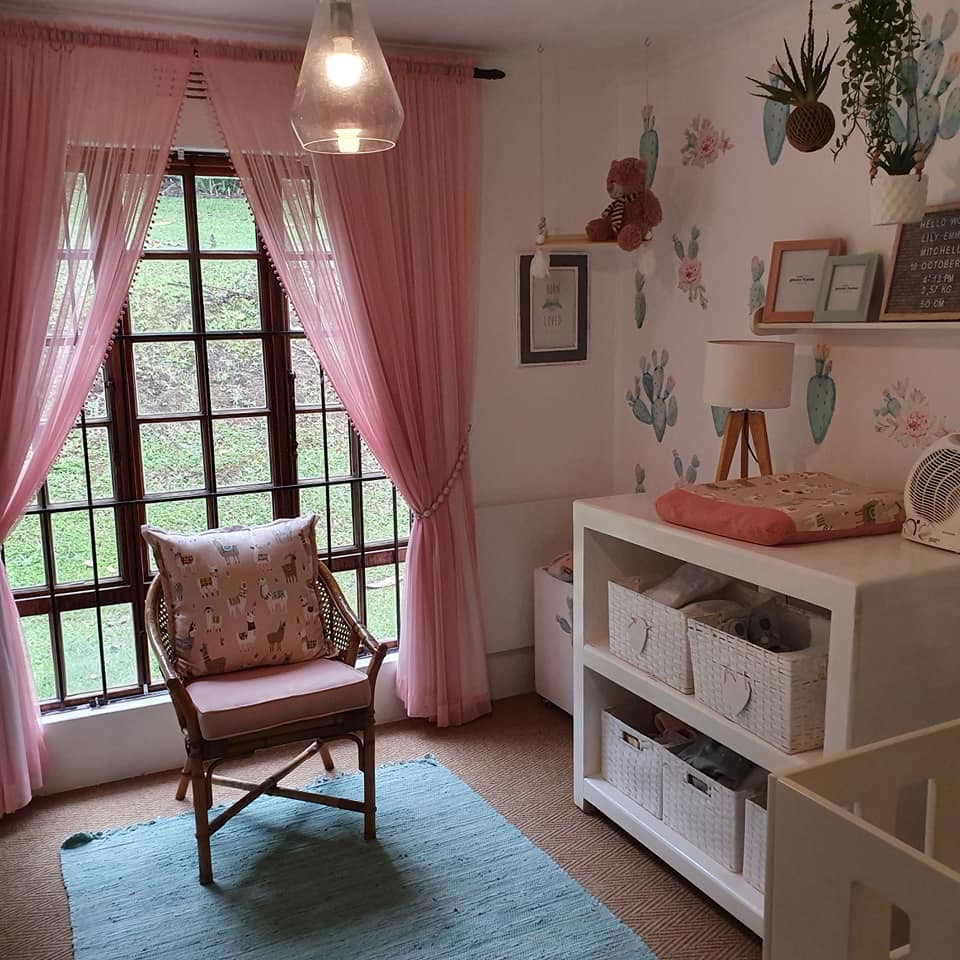
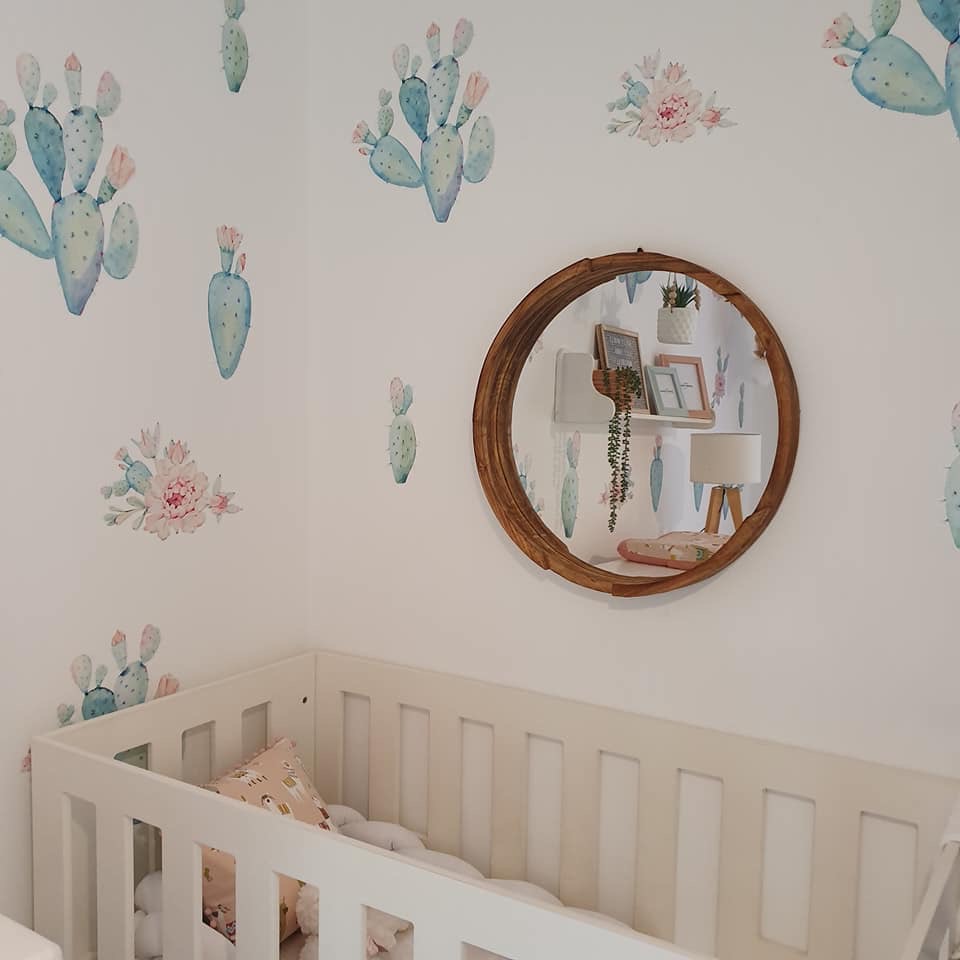
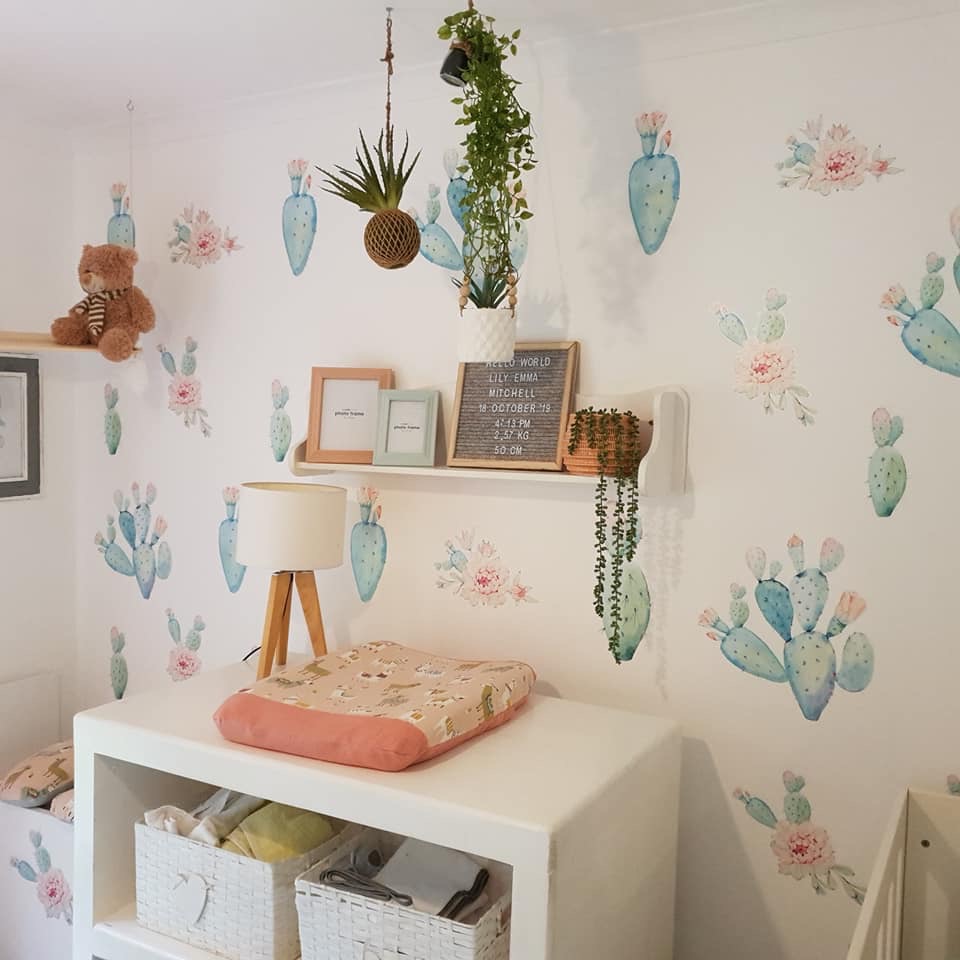
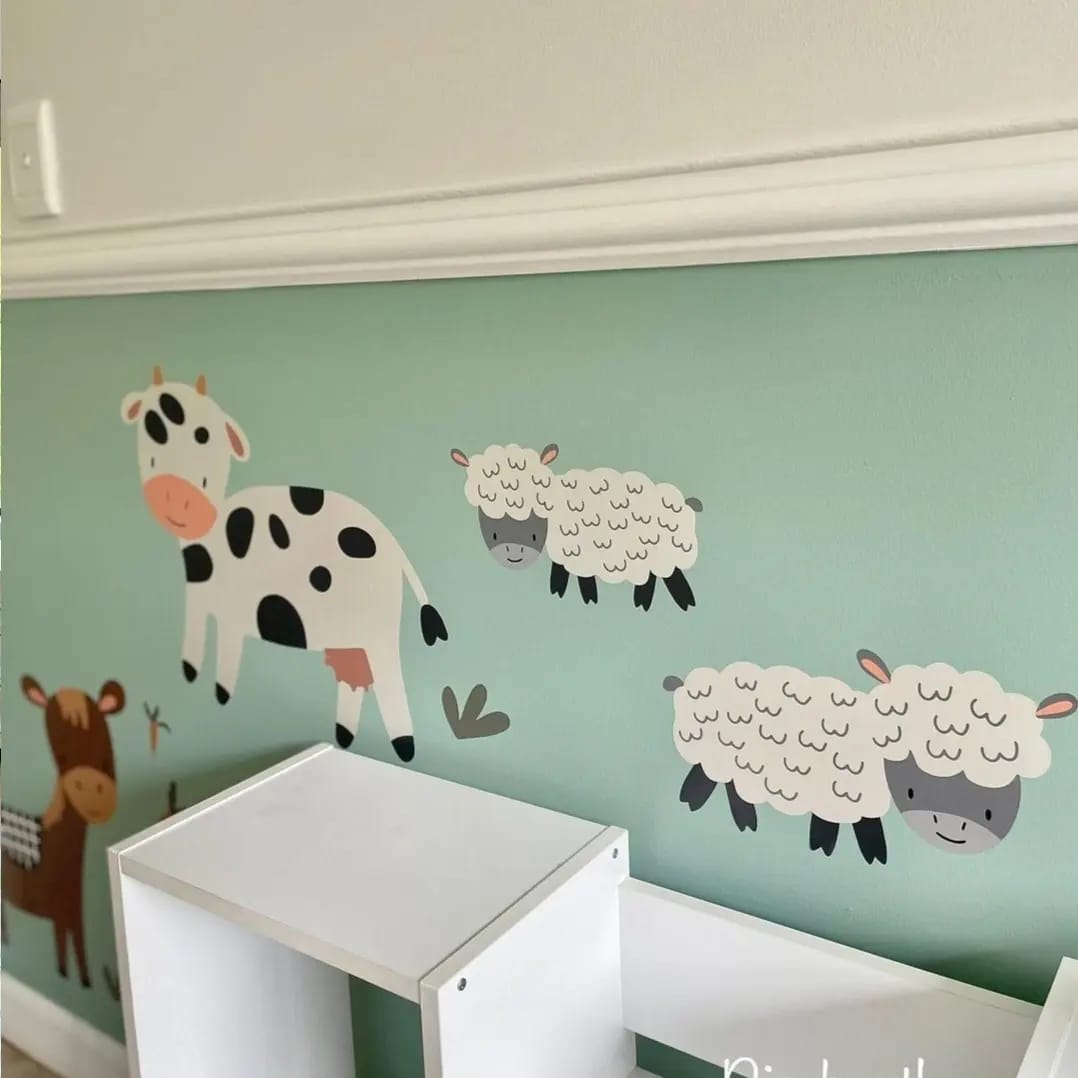
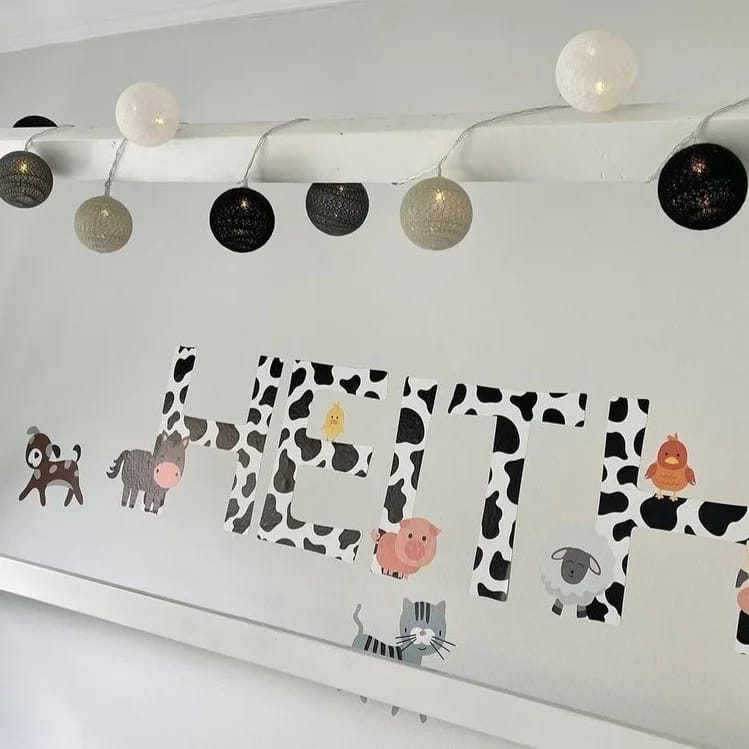
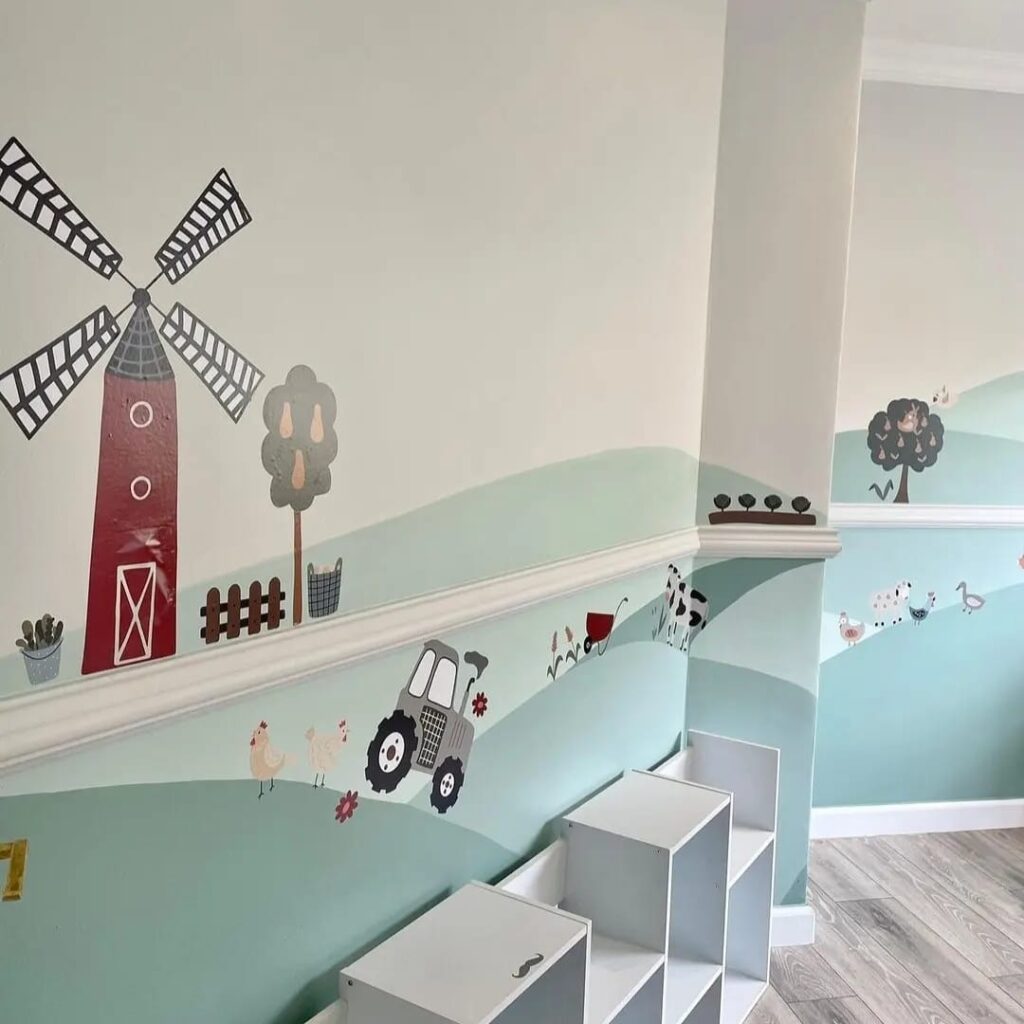
Happy Client Pics
Frequently Asked Questions
Are your wall stickers separate pieces or one large sheet?
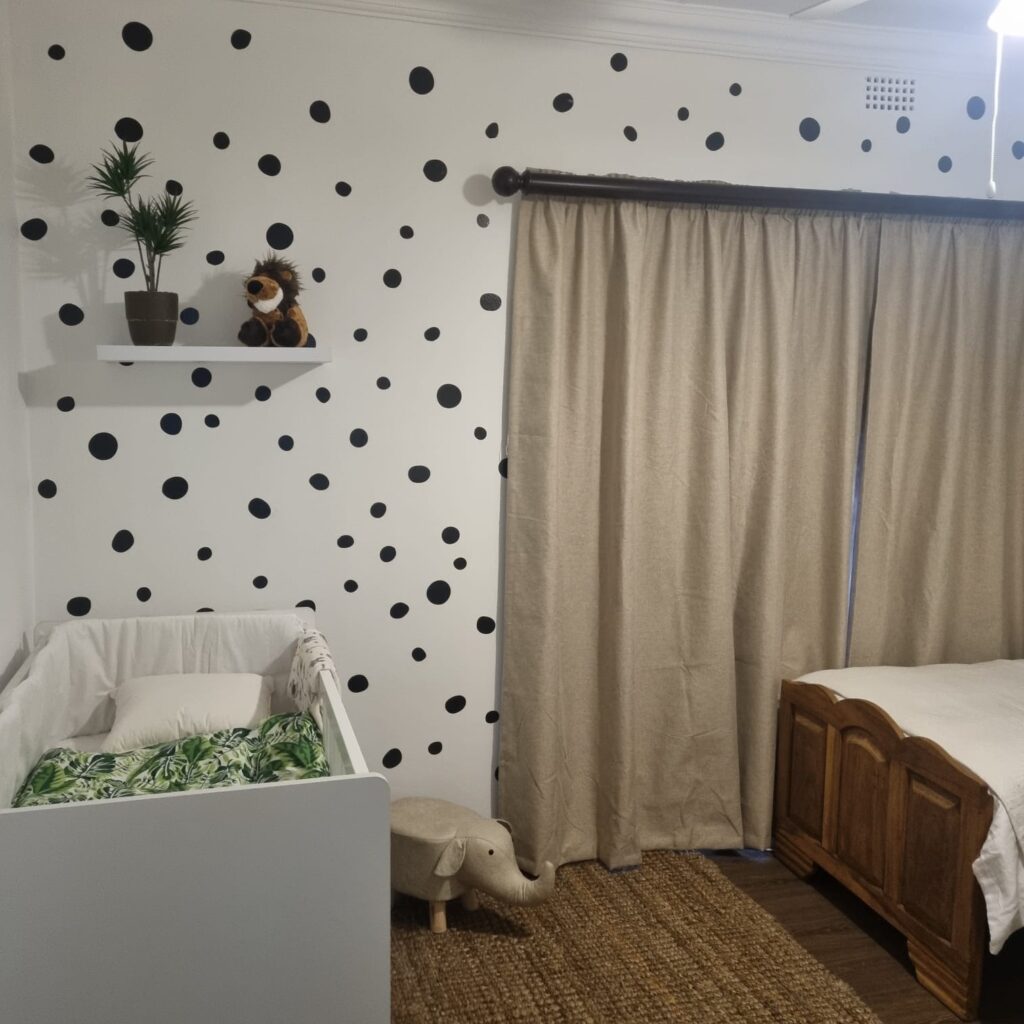
Large wall decals are laid out on one sheet exactly as shown in the design, but each shape is individually cut, so every piece applies as its own unit — this makes application much easier. Tree decals come on multiple sheets depending on size, and smaller decals like stars and dots are simple peel-and-stick pieces.
All our decals are made from the same vinyl, though smaller shapes don’t need application film. Every order includes detailed application instructions.
How long will the stickers last?
Our self-adhesive vinyl is built for semi-permanent use — with proper care, it can last for years, typically 3–5 years indoors. Keep it away from direct sunlight and heat sources, as these can damage the adhesive and cause peeling or discolouration over time. Our vinyl isn’t suitable for outdoor use — if you need an outdoor option, email us and we’ll help you find the right alternative.
I have a few small bumps or bubbles after applying — is that normal?
Yes, don’t worry. Small bubbles usually settle on their own within a few weeks as the vinyl breathes and flattens at normal room temperature. If you’d like to fix them right away, gently prick the bubble with a pin and press the vinyl down immediately with your thumb.
How do I remove my wall sticker?
As long as your wall was in good condition before application, our vinyl removes cleanly without damaging your paint. Starting at one corner, peel slowly and carefully, keeping the vinyl close to the surface — rolling it back onto itself rather than pulling straight out works best. If you feel resistance, apply low heat with a hairdryer and try again. Vinyl also comes off more easily in warmer weather.
Can I remove and reuse my stickers?
Our vinyl is high quality and fully removable, meaning you can take it down without damaging the surface underneath. That said, once removed, the vinyl loses its stickiness and tends to stretch, so it won’t hold its original shape or apply smoothly a second time. We’d recommend taking your time to get the placement right the first time round, since the stickers aren’t designed for repeat application.